How to open an Exodus wallet
Exodus Wallet Guide
In this tutorial, you will learn how to create, use, store, receive and send cryptocurrencies with Exodus wallet.

Table of contents
What is Exodus wallet?
Exodus is a multi-coin wallet created in 2015 by JP Richardson and Daniel Castagnoli. It supports more than one hundred cryptocurrencies such as Bitcoin, Ethereum, Ethereum Classic, Ravencoin or Zcash and Monero. For a complete list of coins supported by Exodus, click here.
With this wallet, you will be able to stock, send and receive your cryptocurrencies with a single account.
Download Exodus wallet
Exodus wallet has a PC version and also a smartphone app. It is available on the main three OS; Windows, macOS et Linux. Exodus wallet app can be downloaded on App Store and Google Play
Setup your Exodus wallet PC version
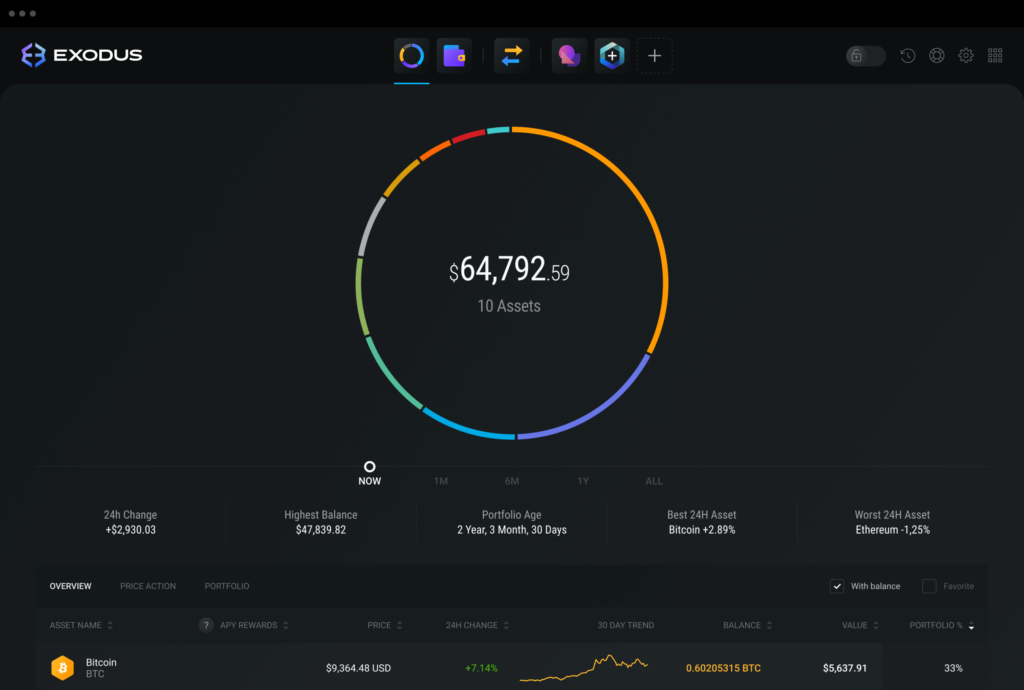
After downloading the Exodus software, launch it. You are now on the Exodus homepage.
You will find 4 important pages :
- Portfolio
- Wallet
- Exchange
- Backup
‘Portfolio’ allows you to follow the price of your cryptocurrencies, but also your transaction history. ‘Wallet’ is the place where you will have access to all your accounts while ‘Exchange’ will allow you to exchange one of your cryptocurrencies for another one.
Secure your wallet
Let’s look at the ‘Backup’ page. It will allow you to secure your access to Exodus.
Create your password. Use a complex password that you can memorize. Try to make it unique, so that it doesn’t look like any of your other passwords.
Then, after choosing and confirming your password a second time. Exodus will propose a backup sentence. This extremely important sentence will allow you to restore your wallet in case you forget your password.
Note the words well, preferably on paper and do not lose them.
After all these steps, your Exodus account is now secure.
Choose your cryptocurrency
Exodus includes many cryptocurrencies. However, you can add or remove coins at your convenience.
For this, you will need to go to ‘Settings’ then ‘Assets’. And you will see the long list of cryptocurrencies available on Exodus.
Click in the circle, to the left of the coin logo, to add it to your wallet.
Receive cryptocurrency transactions
To receive your cryptocurrencies, go to ‘Wallet’ and choose the coin you are interested in. Once on it, click on ‘Receive’. A new page will appear.
You will find your wallet address written and also in QR Code format. By clicking on the ‘View on Blockchain’ button, you will be redirected to Etherscan.
Send your crypto
To send cryptocurrencies, go to ‘Wallet’ and choose the coin you are interested in. Once on it, click on ‘Send’. A new page will appear.
To complete the transaction, you will have to enter the receiver’s wallet address. You can also add a personal note. Click on ‘Send’ to complete the transaction.

Setup your Exodus wallet App version
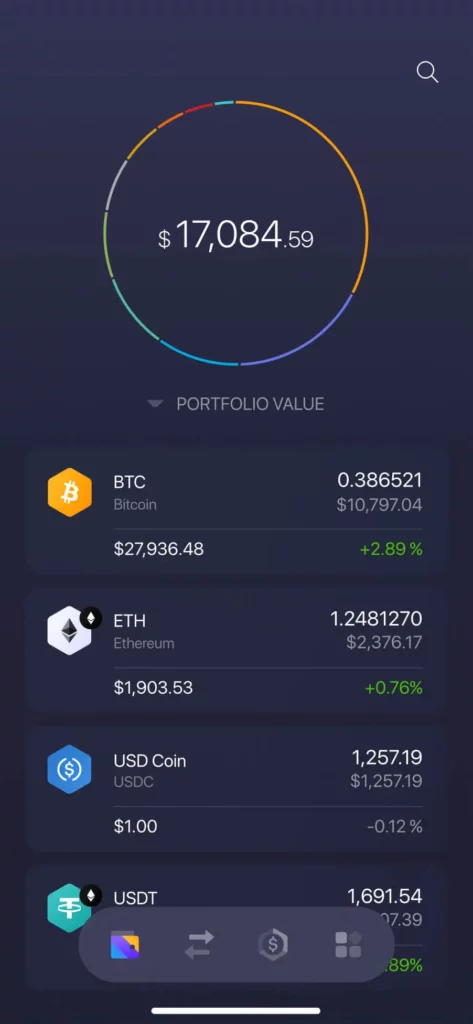
After downloading the Exodus software, launch it. You are now on the Exodus homepage.
You will find 3 important pages:
Wallet
Exchange
Profile
‘Wallet’ is where you will find all your accounts while ‘Exchange’ will allow you to exchange one of your cryptocurrencies for another.
Secure your wallet
Let’s take a look at the ‘Profile’ page and more precisely at the ‘Security’ section. It will allow you to secure access to Exodus.
Create your password. Use a complex password that you can memorize. Try to make it unique, so that it doesn’t look like any of your other passwords.
Then, after choosing and confirming your password a second time. Exodus will propose a backup sentence. This extremely important sentence will allow you to restore your wallet in case you forget your password.
Note the words well, preferably on paper and do not lose them.
You can protect your account access by using a 6-digit code but also by using your fingerprint.
Choose your cryptocurrency
Exodus includes many cryptocurrencies. However, you can add or remove coins at your convenience.
For this, you will need to go to ‘Profile’. You will see the long list of cryptocurrencies available on Exodus.
Press to the right of the coin to add it to your wallet.
Receive cryptocurrency transactions
To receive your cryptocurrencies, go to ‘Wallet’ and choose the coin you are interested in.
Once on it, click on the right arrow. A new page will appear.
You will find your wallet address written and in QR Code format.
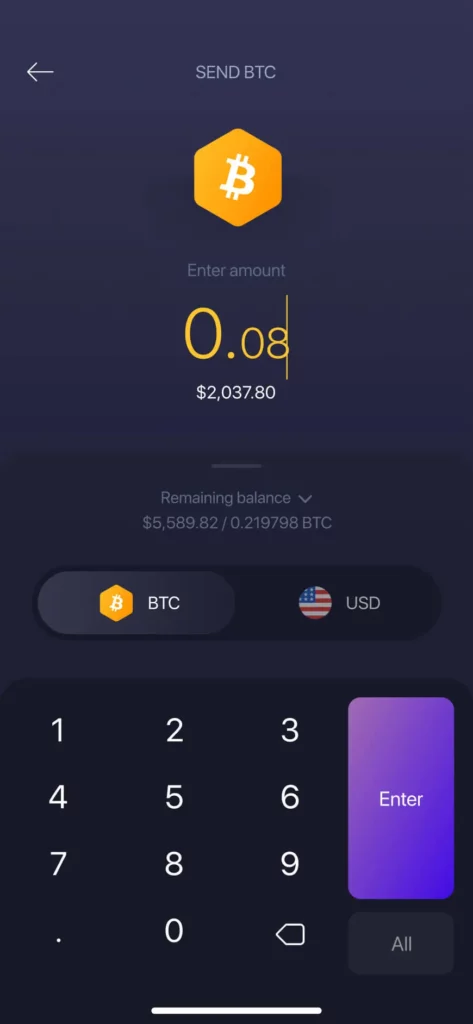
Send your crypto
To send your cryptocurrencies, go to ‘Wallet’ and choose the coin you are interested in. Once on it, click on the left arrow. A new page will appear.
To complete the transaction, you will have to enter the receiver’s wallet address. Press on ‘Next’ to complete the transaction.